I know that young Thai coconuts are all the craze these days, but I had to come to terms with the fact that I won't be able to get my hands on one in the near future. So, I wanted to let everyone know that it is OK to use the little brown hairy guys too. I'm sure there must be a quality difference, but I don't think they are as inferior to the green ones as they're portrayed to be. Because of that, I found a way to make the most of them. I think it's time we revalued them!
So how many different things would you guess we could make with just 2 coconuts? I'll tell ya! 5!! Isn't that amazing? No waste - only the shell. Two small pieces of advice here: when you buy your coconuts, make sure they have no mold or discoloration on them. Now, shake 'em real good and listen. You should hear the liquid swirling around. That's your...
coconut water
Let's get that juice, baby!
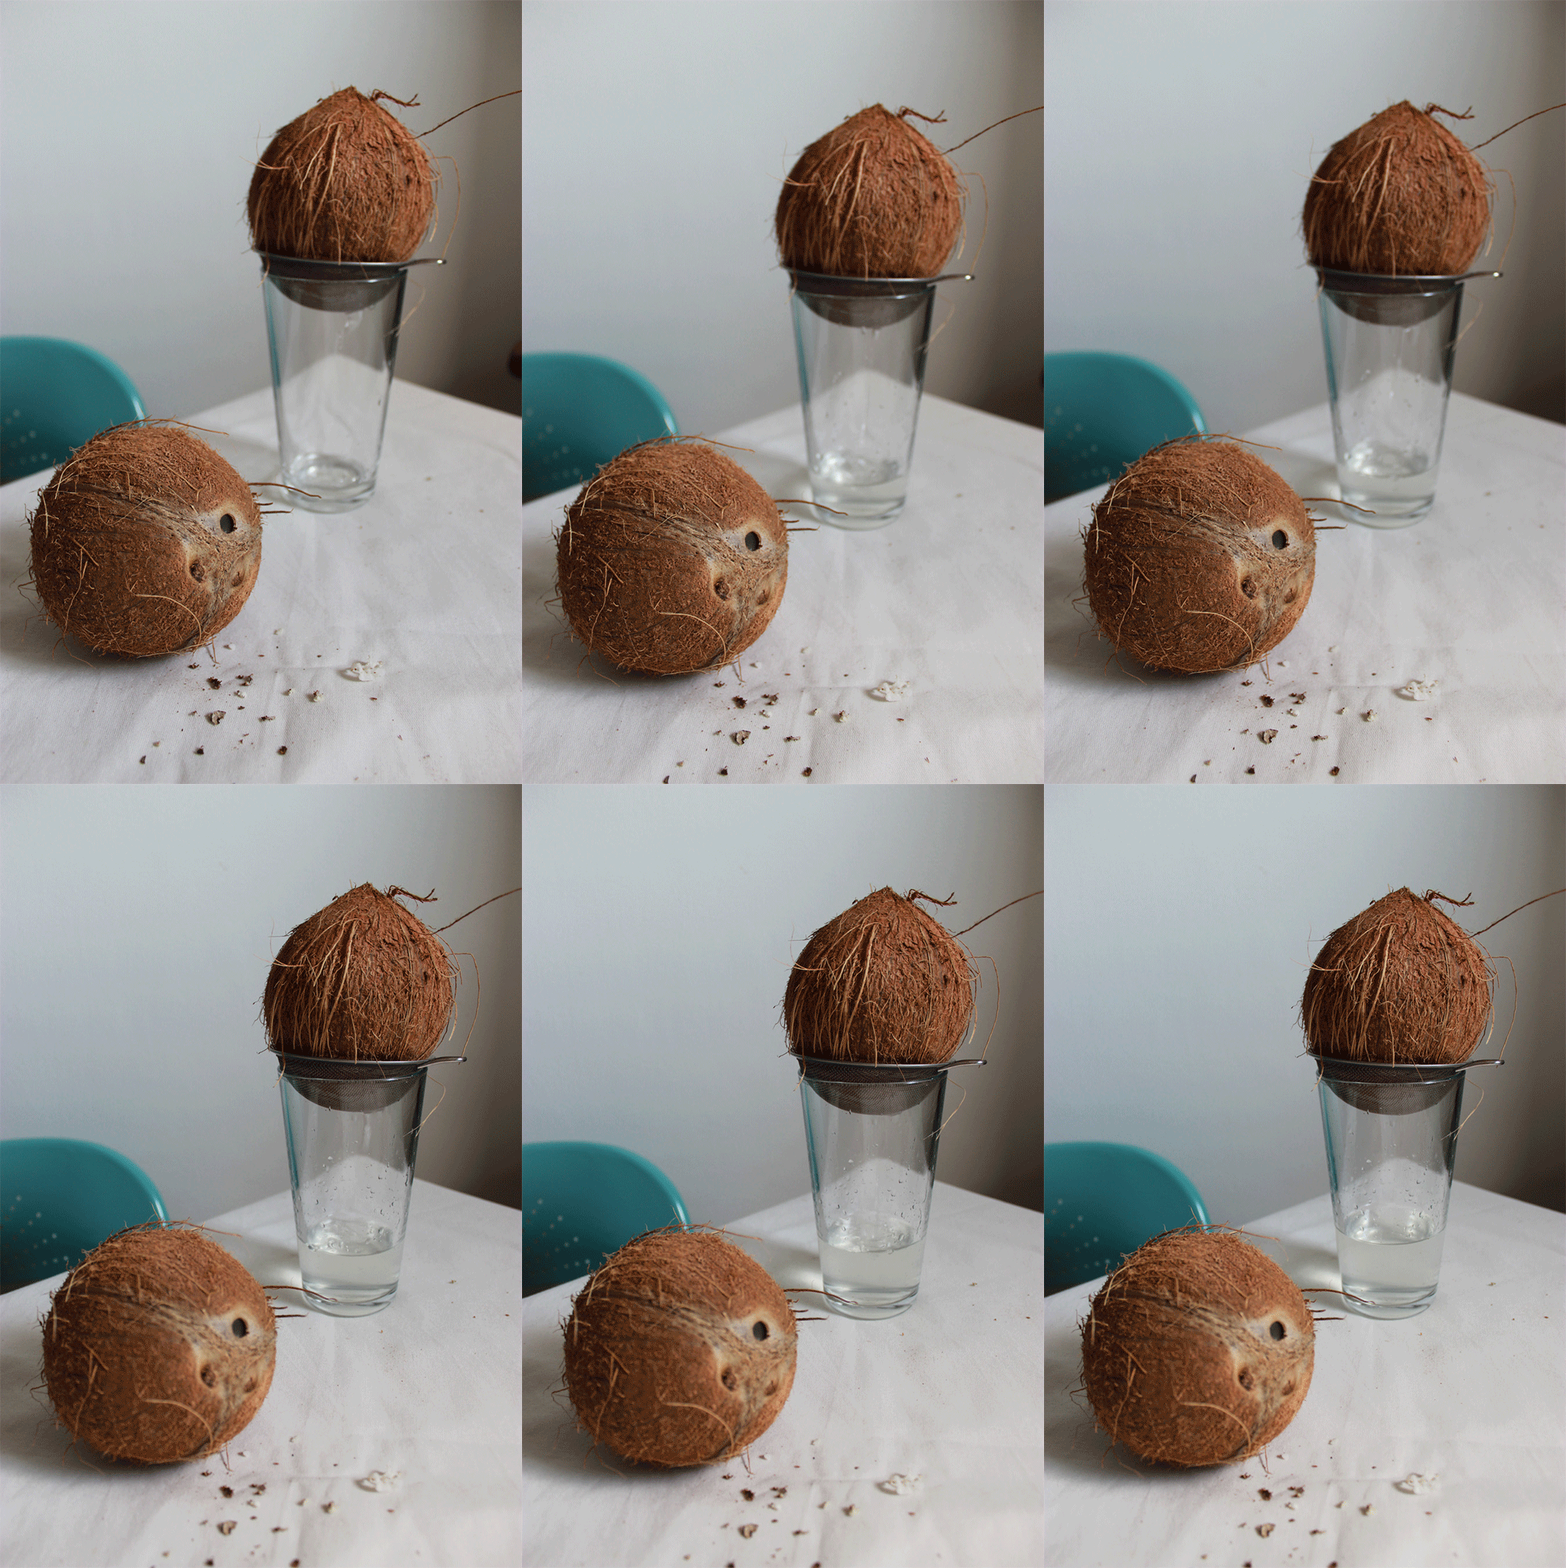
Step 1: Intrude. Take your two coconuts, find the softest one out of the three eyes on both and use a screwdriver/drill to poke holes. I recently got this handy little tool from the boyfriend, which is perfect for the task and for a woman's hands.
Step 2: Now, turn the coconuts upside down and drain the liquid into a glass through a sieve.
Step 3: Smell/taste a tiny bit of your water, before you do anything with it. It may happen that despite the good looks, your coconut is not so yummy. You don't want to end up with a moldy tasting smoothie, so ALWAYS check first.
I have had young coconut water from a carton before, but I did not find the water from mature coconuts any less tasty. Plus, it is still nutritious and packed with minerals. It takes my morning smoothies into another dimension!
coconut milk (and coconut oil)
The coconut milk beverages - and other plant milks for that matter - available in stores are pretty expensive, and usually full of nasties. I have tried diluting full fat coconut milk or coconut cream, which works fine, but is just as pricey. I had to come up with a way to make my own from scratch. I experimented with making milk from shredded coconut, but the result was too watery for my taste. This has become my new favourite home made milk recipe. It is cheap, delicious and nutritious. Perfect for hot or cold beverages. It also keeps longer than raw nut milks, for example.
To get the meat out, you'll have to crack the bad boys. You could stay raw, but I highly recommend that you gently heat treat them first. Not only will this elongate shelf-life and up the sugar content, but it will also make it easier for you to open them and will eliminate any bacteria that may be found within. So, here's what you'll need to do:
Step 1: Pop your coconuts in the oven at medium/high heat for about 30 minutes - this will crack them for you. Let them cool slightly.
Step 2: You'll have to really hurt them. Get a hammer/meat pounder. Hold the coconut in one hand and start hitting them along the crack all the way around. Be persistent, you'll manage.
Step 3: If your meat does not come right out of the hard shell, you may want to slide a knife between them and force it. Sometimes the papery brown skin part will come off on its own, at other times, though, you'll have to peel it off the meat with a veggie peeler. Rinse all your coconut under cold running water and chop it into chunks.
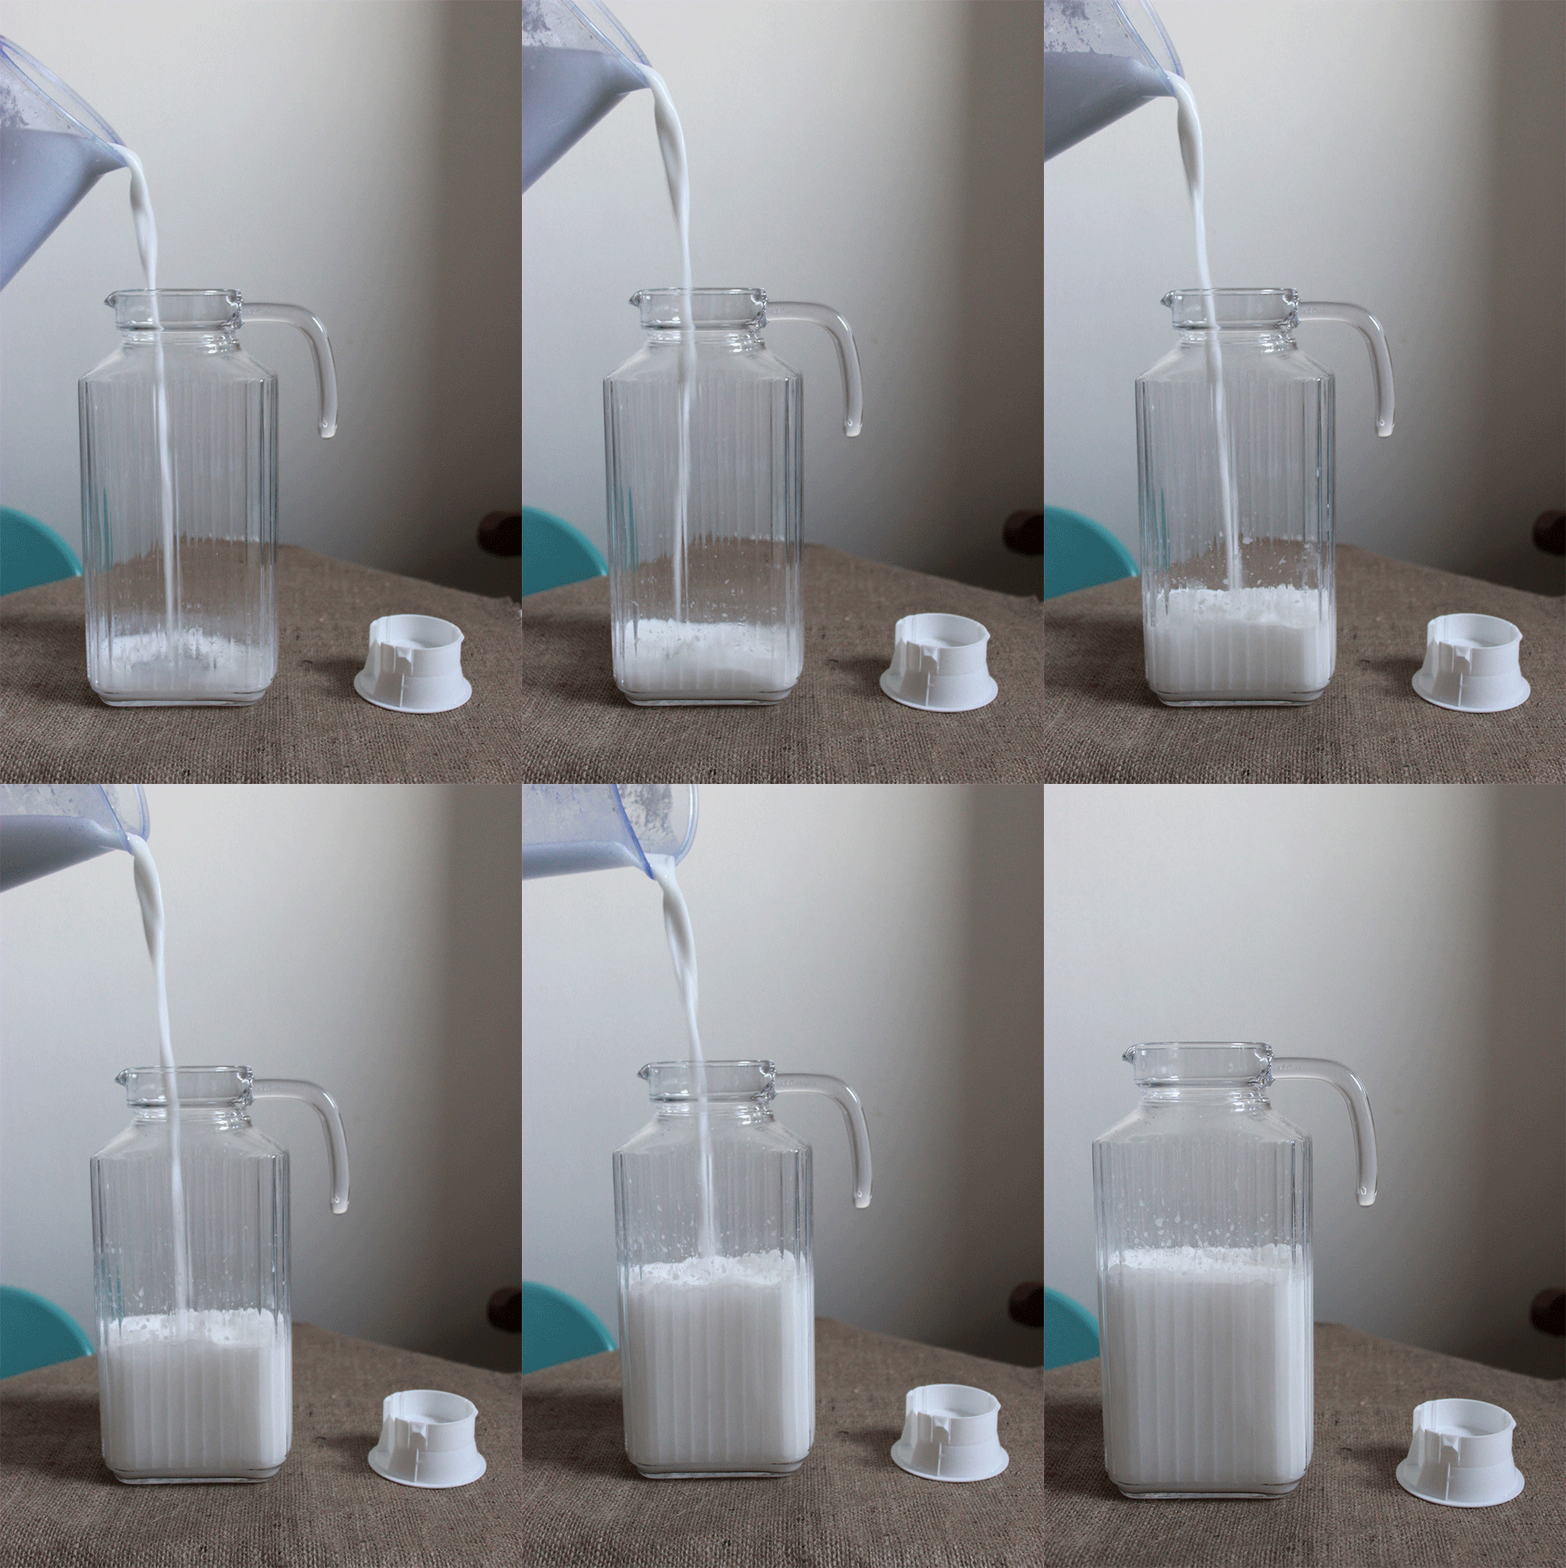
Step 4: Dump 1 coconut's worth of meat into your blender along with 3 cups of filtered water. Blend on high for 1-2 minutes, not longer. Optional: Add in a few softened dates if you want a sweeter milk, or flavor with vanilla.
Step 5: Use a clean nut milk bag to strain it. Store in the fridge for up to a week. DO NOT discard the pulp, because we are going to use it.
coconut flour
This is what your leftover pulp is going to look like:
Step 1: Crumble all that onto a non-stick dehydrator tray (or cookie sheet).
Step 2: Dehydrate (bake on very low heat), until fully dry.
Step 3: Whizz in your food processor to make a fine flour.
Congrats! You now have coconut flour!
coconut oil
Depending on the temperature of your water, some coconut oil is going to start building up on the inside of your jug. If you want your milk less fatty or want to drink it right away, use colder water. In the end just scrape out the oil, squeeze out the leftover moisture, heat gently and strain the remaining particles out of it. You can use it as you would store-bought. I added it to my all natural home made deodorant.
shredded coconut
Notice, that we only used the meat of one coconut when making milk. We are going to make the ultimate smoothie/porridge/pudding/everything topping (featured in my previous recipe posts) out of the other one.
Step 1: Shred the remainder of your coconut meat.
Step 2: Spread out on a dehydrator tray/cookie sheet.
Step 3: Dehydrate overnight or bake on low temperature for a few hours.
See? Told you they offer a lot! They are magic! All of this will take you about an hour or so, plus dehydration time.


No comments:
Post a Comment
Share your thoughts!